Hand Painted Pottery with Animal and Dog Art by Nan Hamilton Boston MA

Designing Pottery: Making the Pot


Here are few pictures of me working on the wheel, but really, if you want to learn to throw, find a friendly studio and take some lessons. Learning to throw is like learning a sport or to play a musical instrument. It takes a while to get coordinated, and lots of patience is needed. Like any physical activity, practice counts. The more time you spend at the wheel, the more your hands and brain begin to work together.


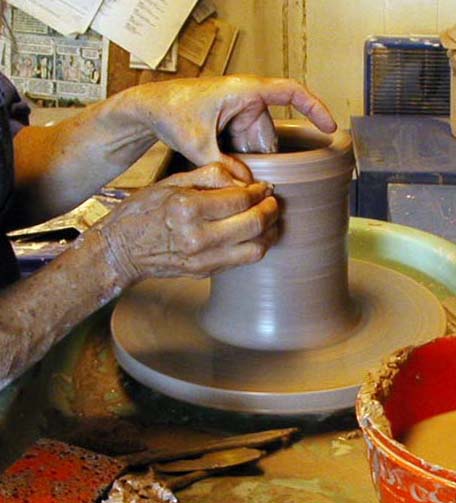
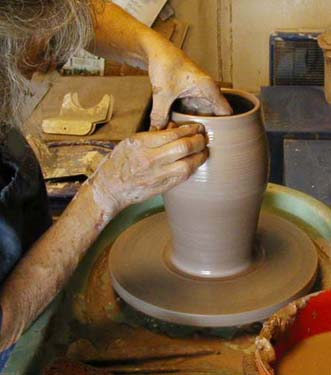
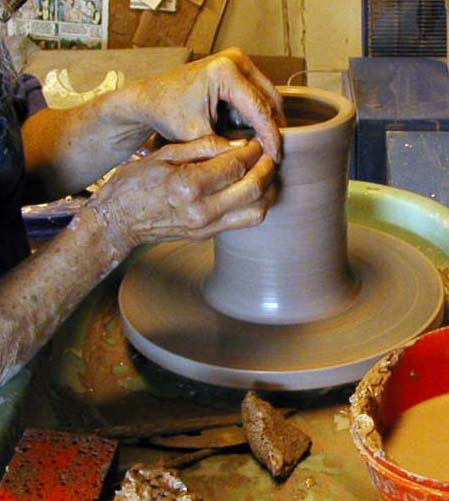
The steps are preparing the clay (wedging), centering the clay on the wheel, opening the lump, making the floor of the pot, pulling the walls (thinning the clay), and shaping. Here I'm pulling the walls. Actually, it's not pulling. What is happening is that I set my hands an exact distance apart and come up, forcing the clay to conform to that distance. With each pull, I narrow the distance my hands are separated, until the final pull where my hands are between 1/4" and 1/8" apart. The hard part for most beginners is staying steady.


Here I'm shaping the pot. As your skill improves, so does your eye. The more you are able to physically refine the clay, the more you can to see the shape and how the inside corresponds to the outside. Ultimately, the inside shape dictates the outside. When the pot is partially dried, I trim any extra clay off the bottom and make the foot. My goal is to have the pot be an even shell, no part thicker or thinner than any other, a shape that conforms to what I have in mind.


Return to Designing Pottery home page.


Home - Gallery - Mudville - Dog Park - BARK - Nan's Workshop


No unauthorized reproduction. Thank you. Text and Photos Copyright © 2006 Nan Hamilton